The Dogbane Beetle

 |
| The shell isn't quite right, but I gave in as I drew this in my lap at the doctor's office... |
At our coop we have been studying beetles and butterflies -- How God made them with such unique proportions, their coloring, legs, etc. With my engineering background, one of my favorite things to do is get out a ruler and look for equivalent lengths and straight (or almost straight) lines. It is fun to discover how the butterfly's upper wing has a straight line on the bottom edge and how the wings are usually about as wide as the body is long at that edge. It also has an upper wing that is usually at least 1.25 times up to 1.5 times the length of the body and the antennae are not longer than the body length. It is fascinating how the upper wings swoop out so far up and out! Even more amazing is how these huge wings and all the legs come out from the small segment of the body in the middle: the thorax...
Well - on to art! So, after discovering all these wonderful things about both beetles and butterflies, our class will make our own butterfly with markers, metallic colored pencils, and shiny origami papers.

The first step would be to draw your basic butterfly outline... Mine must have been convincing as Chloe would not let me get coloring :D

Next you will follow your plan to design the wings. I used metallic colored pencils as my starting point. I made the major section designations, dividing the each wing into two main parts with a "swoopy" thing. Also, students, note that I used the odd number rules :D

Here is how I made the paper cutouts--the easy way! I colored in the edges of the shape that will be covered in paper. Then using tracing paper, I traced the shape with a pen. Then I take the tracing paper and lay it on my origami paper.

Retrace the shape. You can see that it leaves a dent on the paper for you to follow when you cut it -- No ink line on your paper!


Here is the shape after it is cut out. Because I colored in around the shape in the green pencil, if the shape isn't perfect it won't matter.
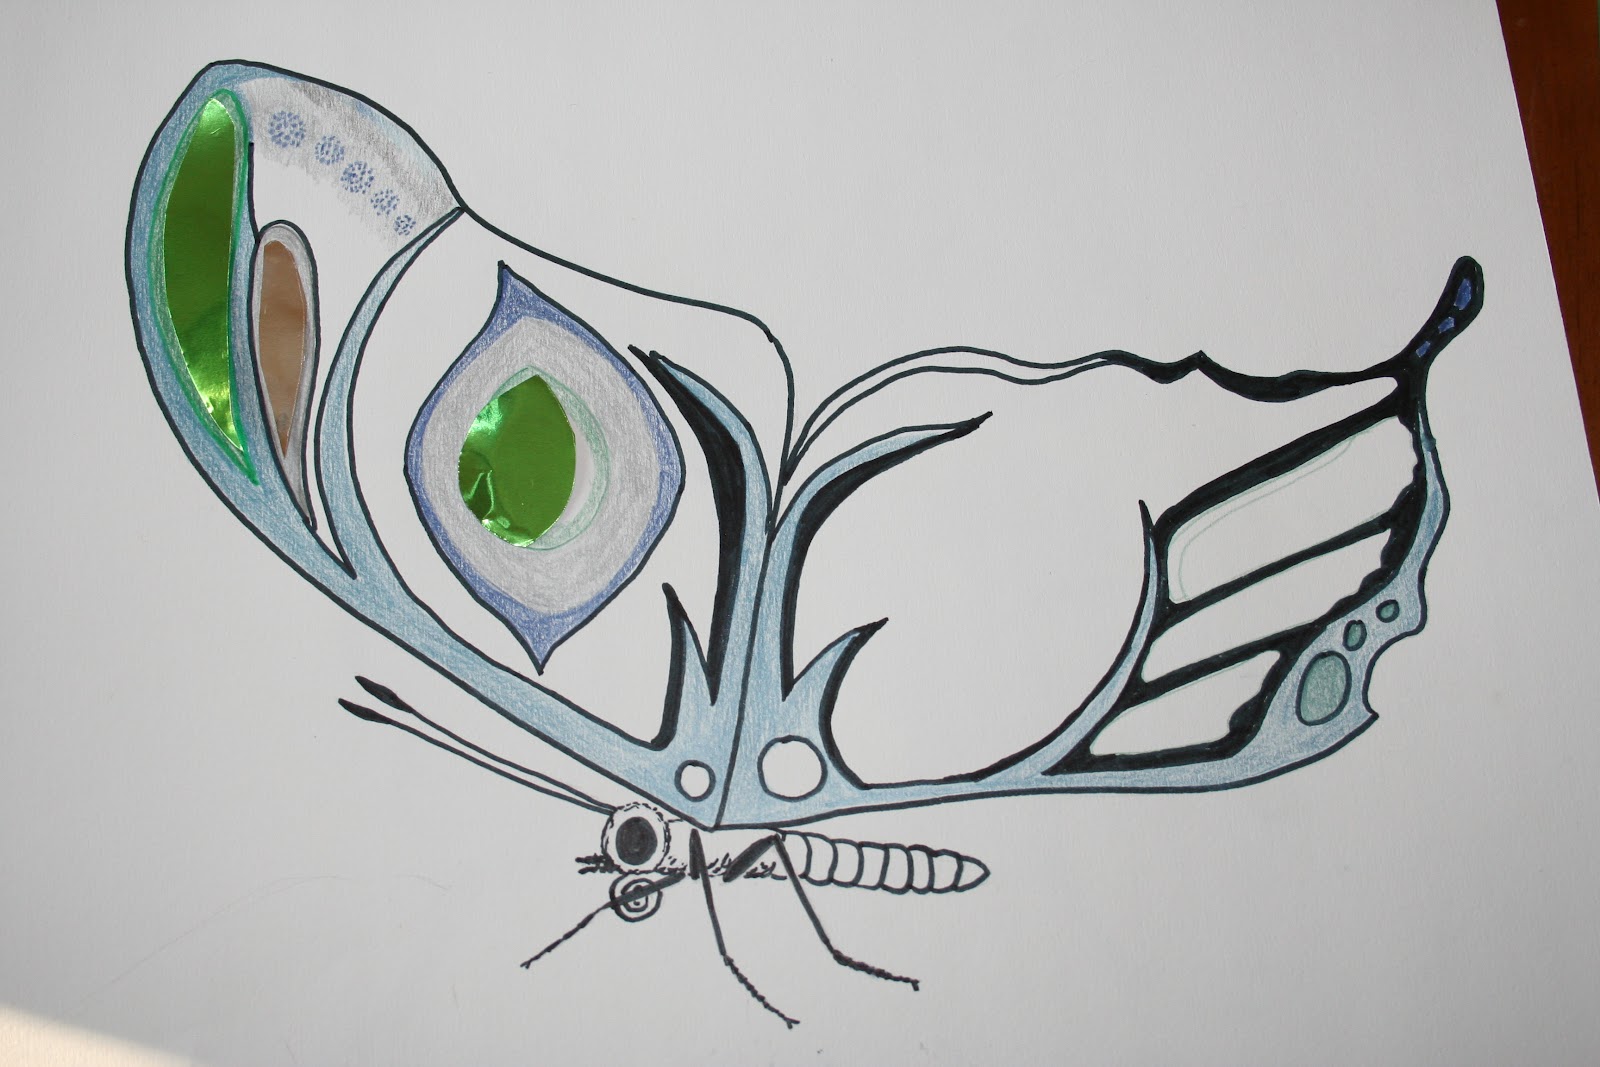 As I designated these areas, I found that my butterfly needed to have some nice black lines to help make it pop.
Here you can see the green sections before the papers are glued in .

Here she is. I think my students may cut theirs out and put them on colored paper, but I am not decided yet. Hoping to post some fun photos of their work when they are done!